

Blog
The Complete Workflow for Creating a 3D Printed Collectible Figure

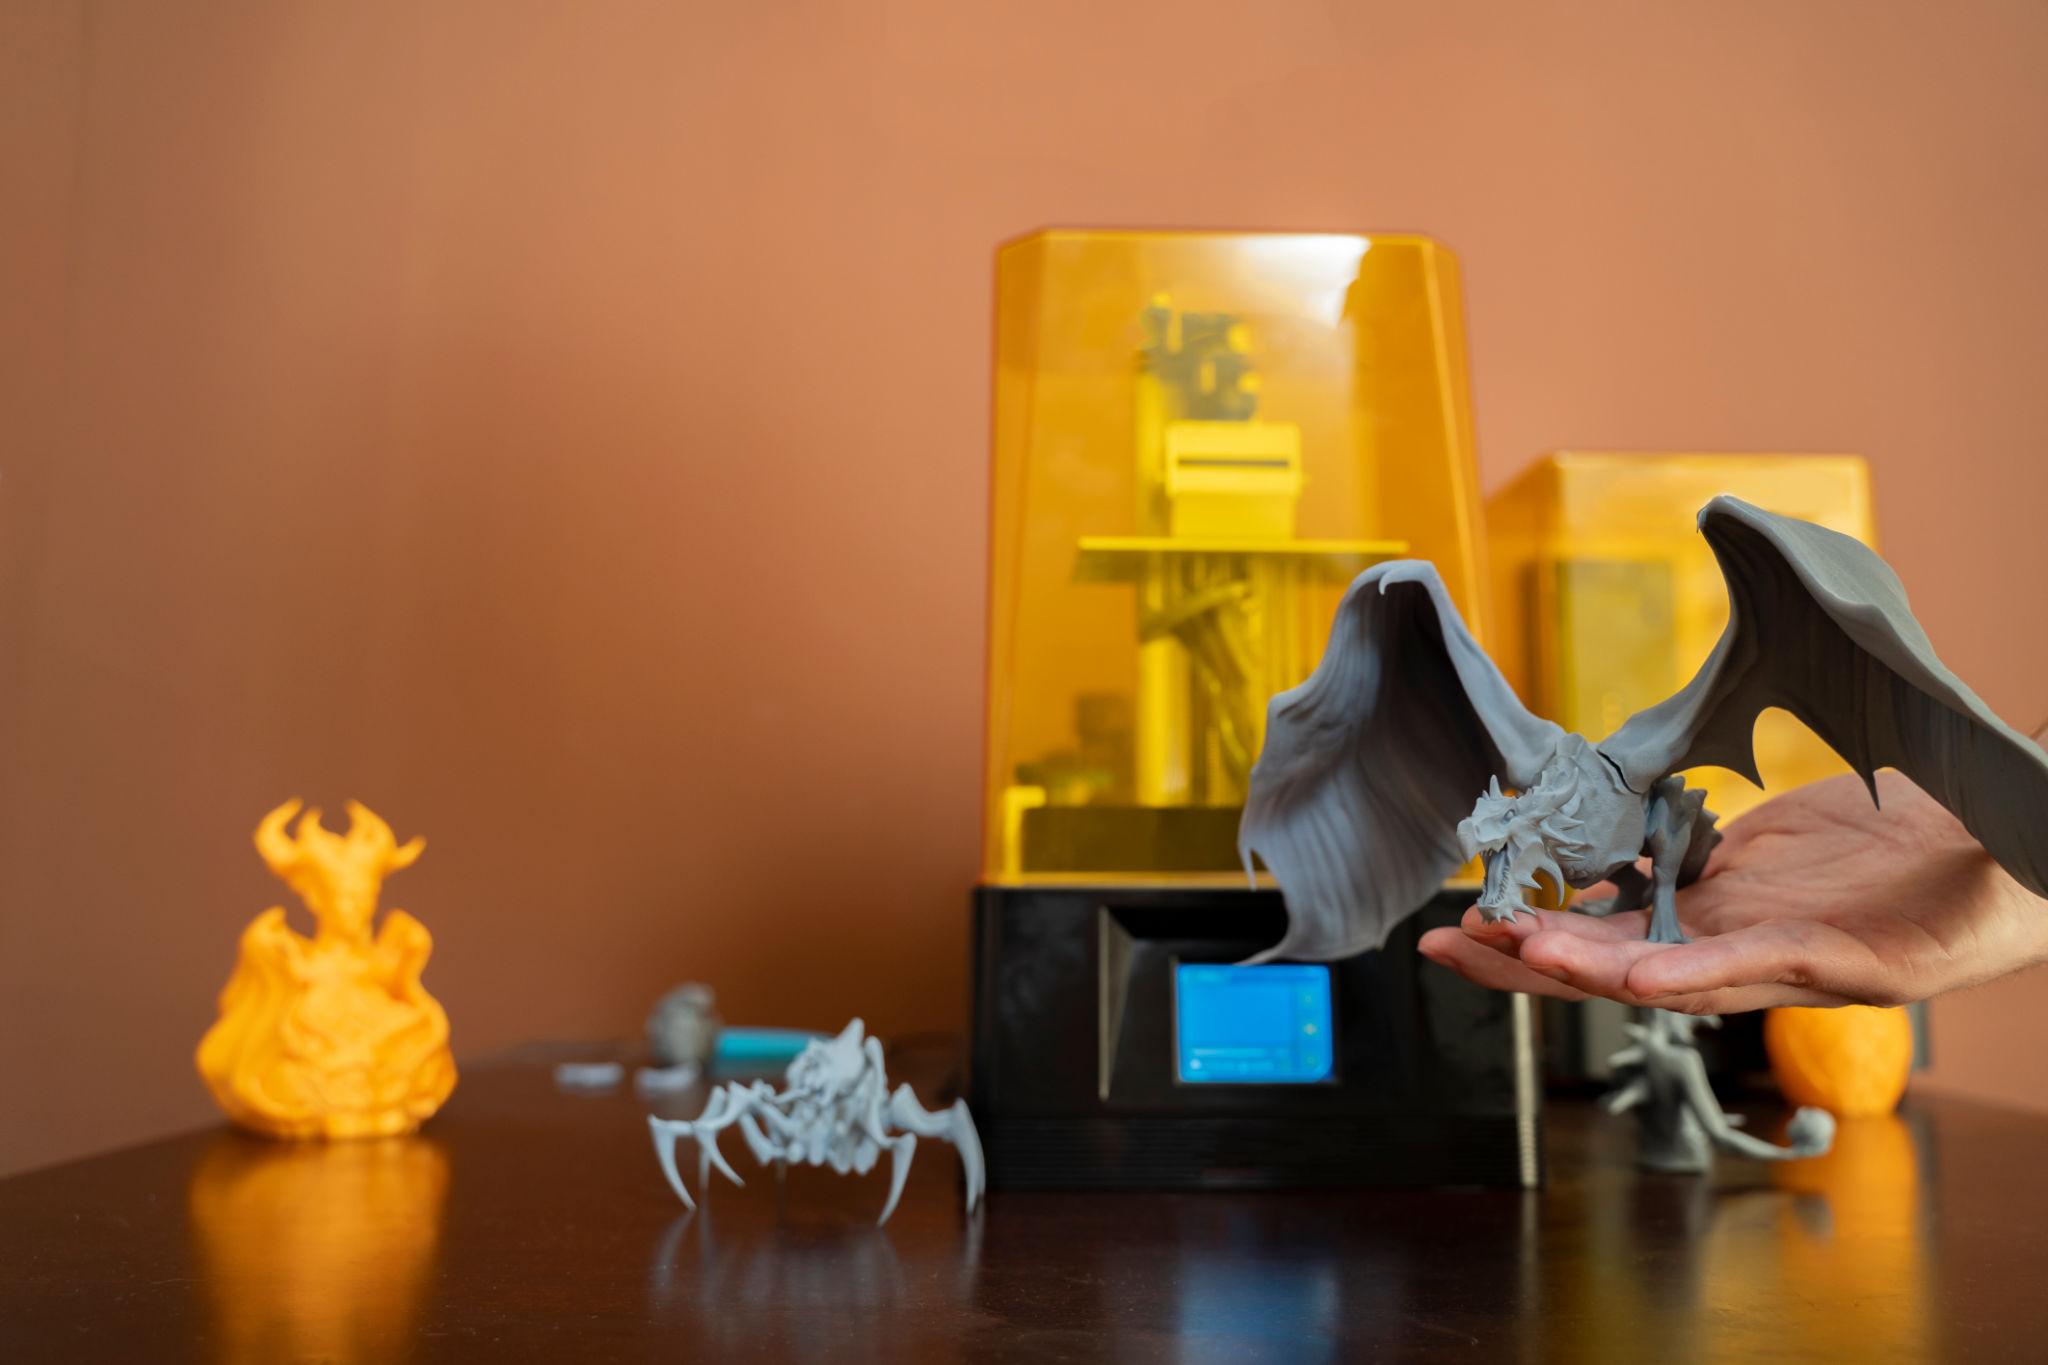
Creating a collectible toy involves much more than simply pressing “print.”
Professional figures require a complete production pipeline.
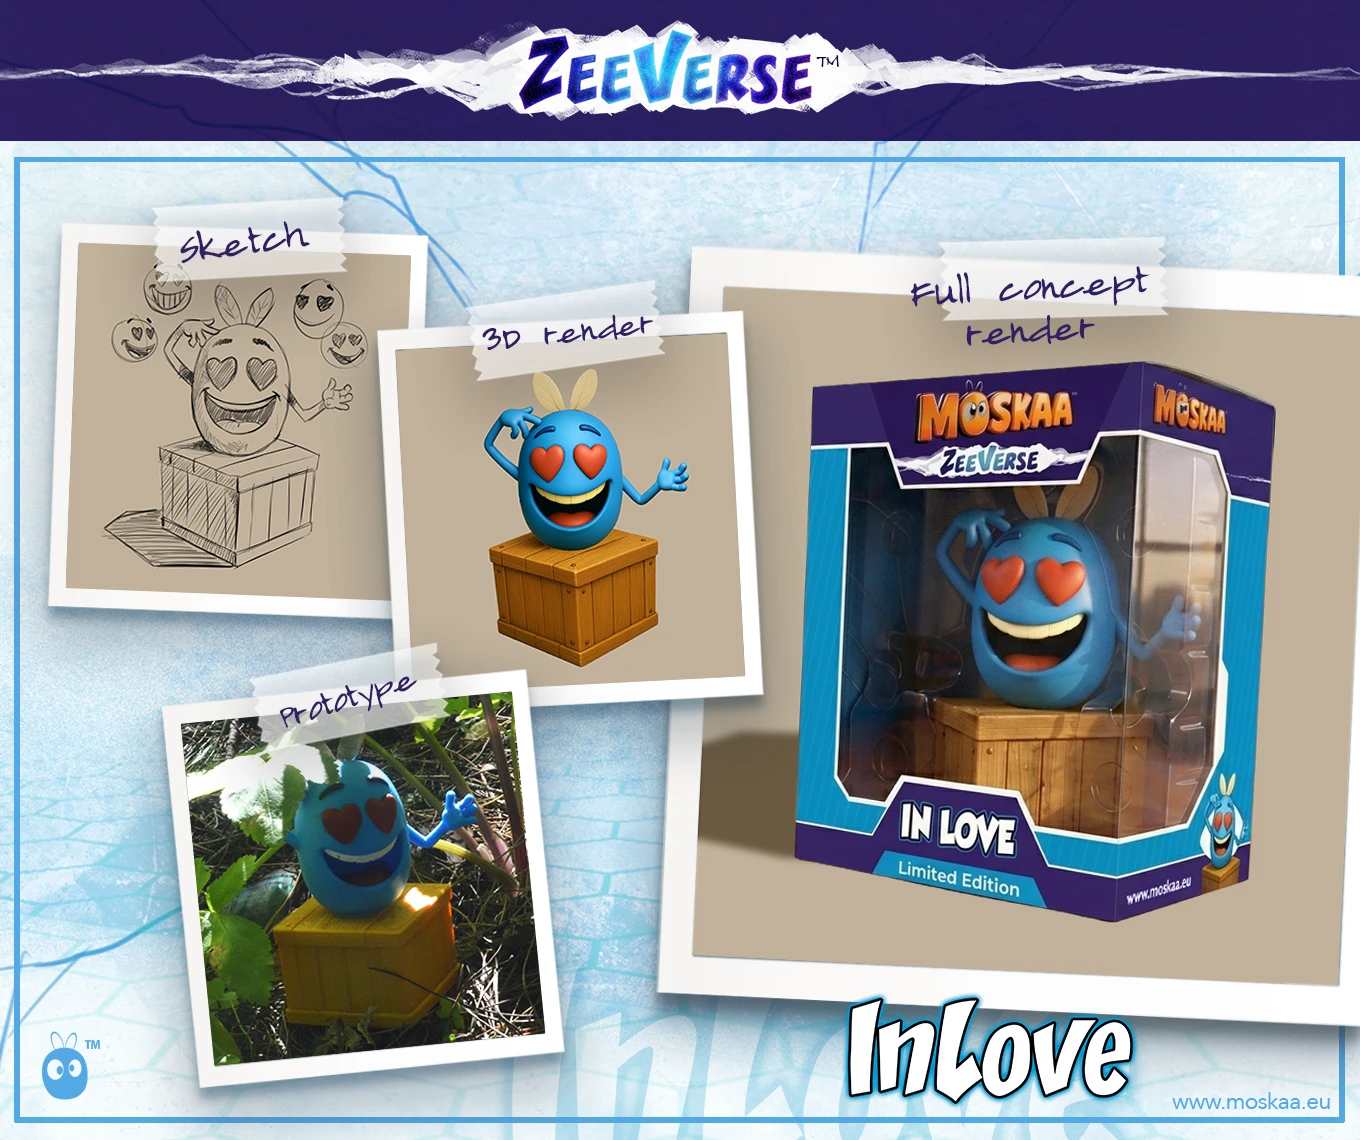
Step 1: Concept Art
Everything starts with design.
Good concept art defines:
- Silhouette
- Personality
- Costume
- Colors
- Mood
Strong concepts reduce production problems later.
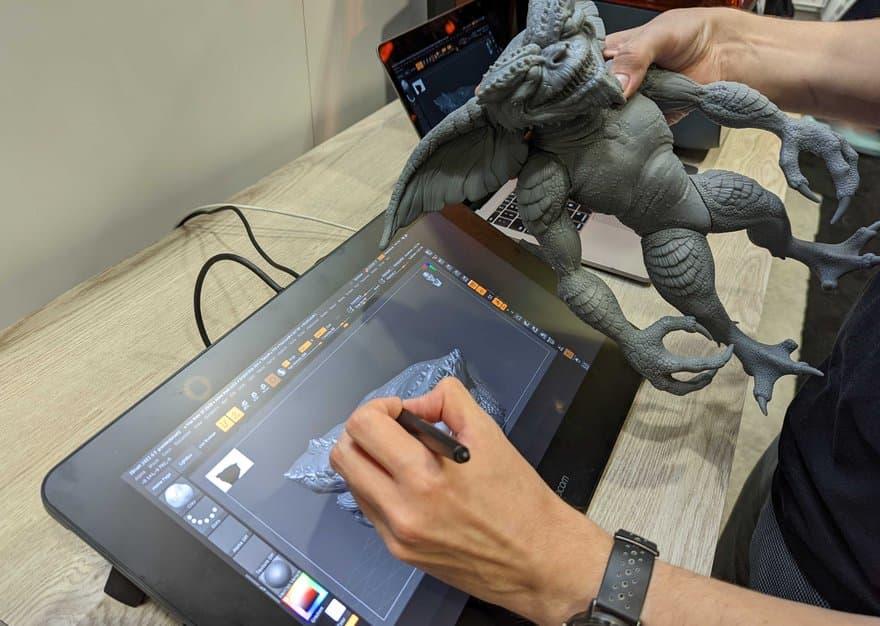
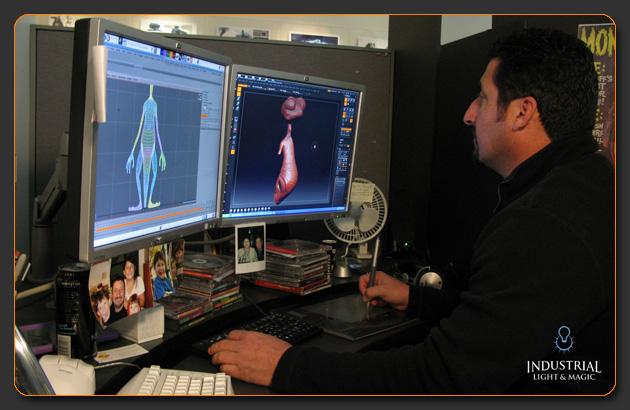
Step 2: Digital Sculpting
Artists use software like:
- ZBrush
- Blender
- Nomad Sculpt
to create the 3D model.
Important considerations:
- Pose stability
- Printability
- Part separation
- Structural strength
Step 3: Preparing the File
The model must be:
- Hollowed if needed
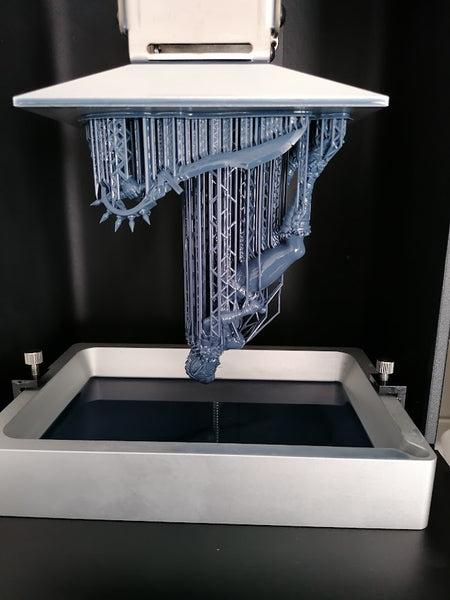
- Supported correctly
- Scaled properly
- Exported for printing
Bad supports can ruin a print.
Step 4: Printing
Resin printers are commonly used for collectibles because of their detail quality.
Key settings include:
- Layer height
- Exposure time
- Support density
- Resin type
Small setting changes can greatly affect quality.
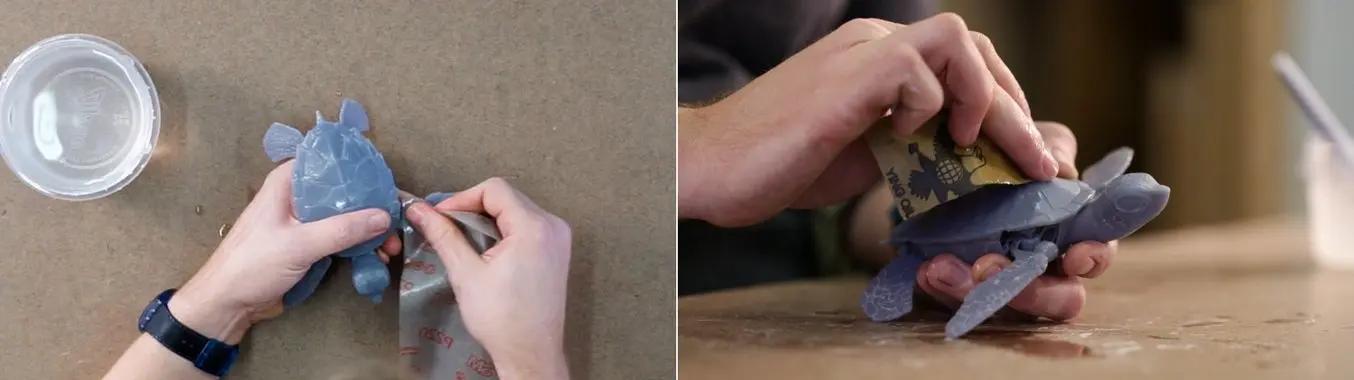
Step 5: Post-Processing
After printing:
- Supports are removed
- Parts are cleaned
- Resin is cured
- Surfaces are sanded
This stage is critical for professional results.
Step 6: Painting
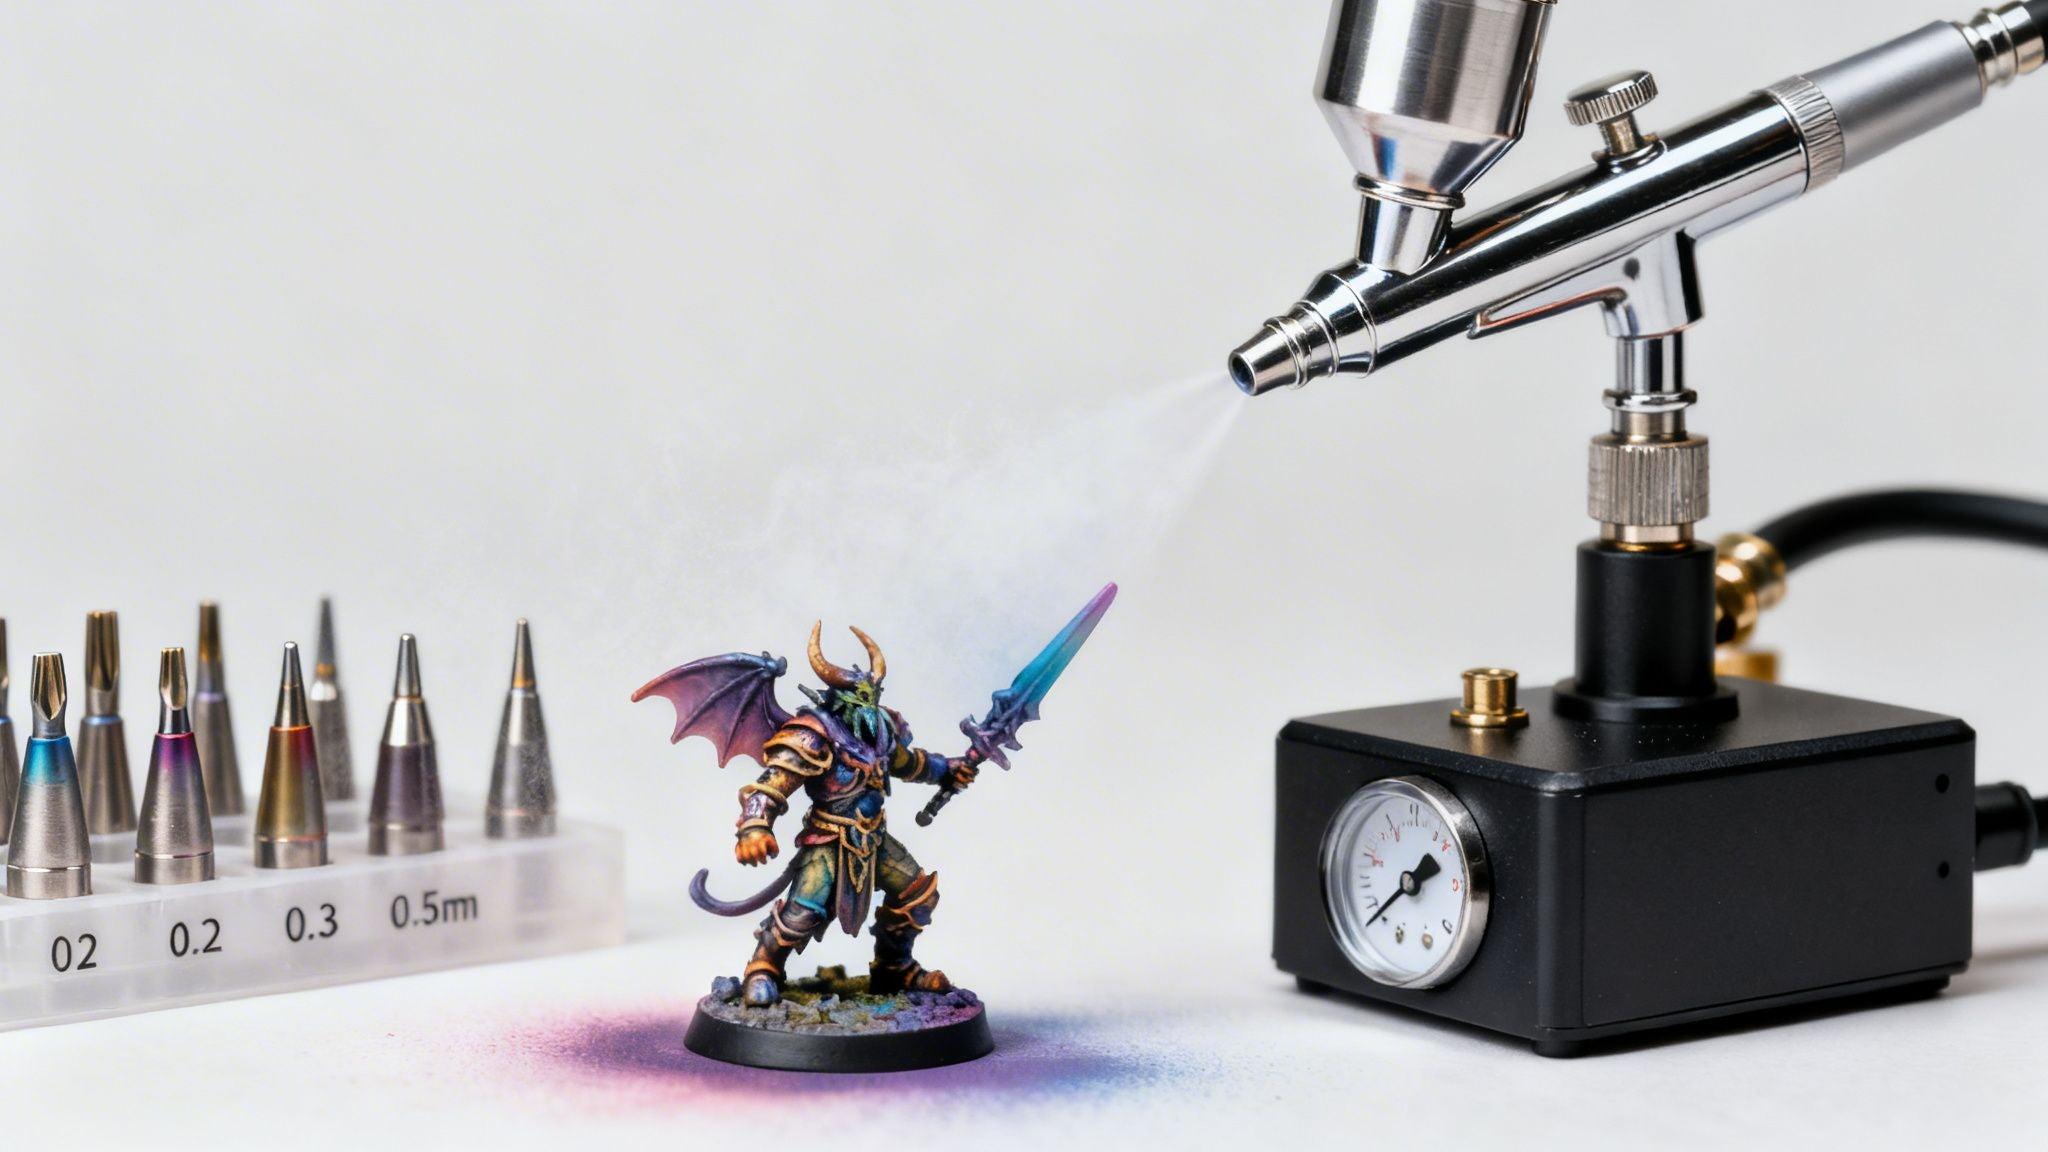
Painting adds personality and realism.
Common techniques:
- Airbrushing
- Layering
- Washes
- Weathering
- Dry brushing
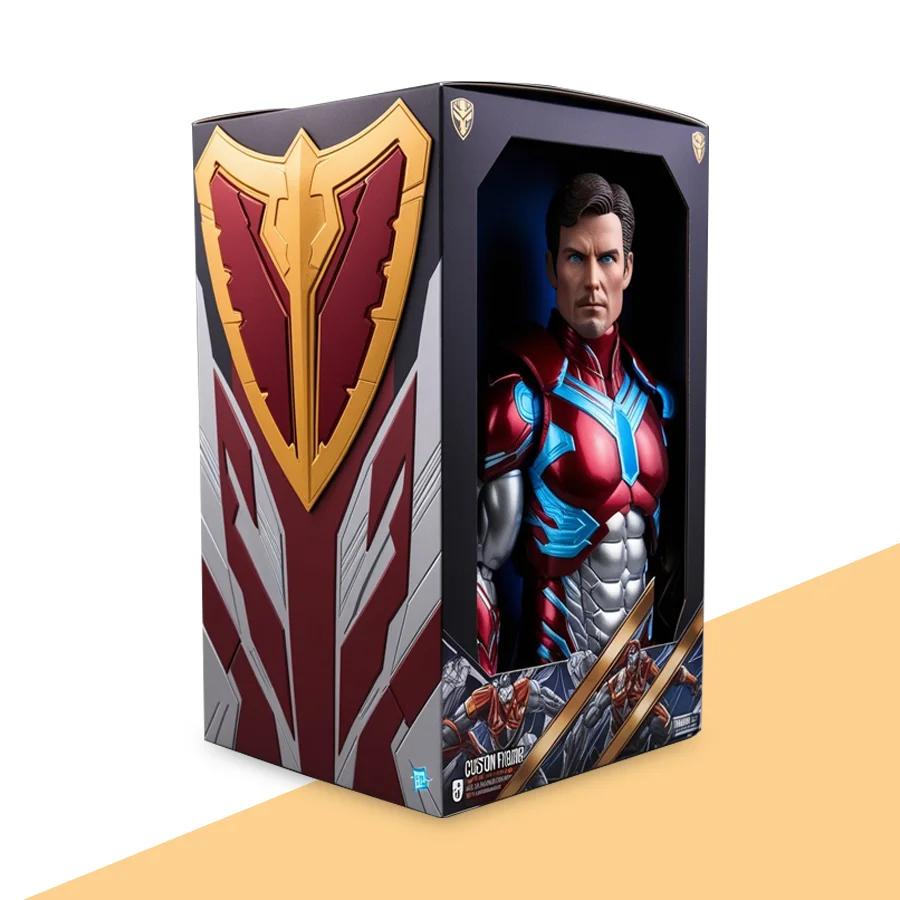
Step 7: Assembly and Packaging
Final production includes:
- Gluing parts
- Quality checks
- Protective packaging
- Branding materials
Packaging is part of the customer experience.
Final Thoughts
Professional collectible production combines:
- Art
- Engineering
- Manufacturing
- Branding
Every stage matters.