
Blog
Beginner’s Guide to Painting 3D Printed Miniatures and Collectibles

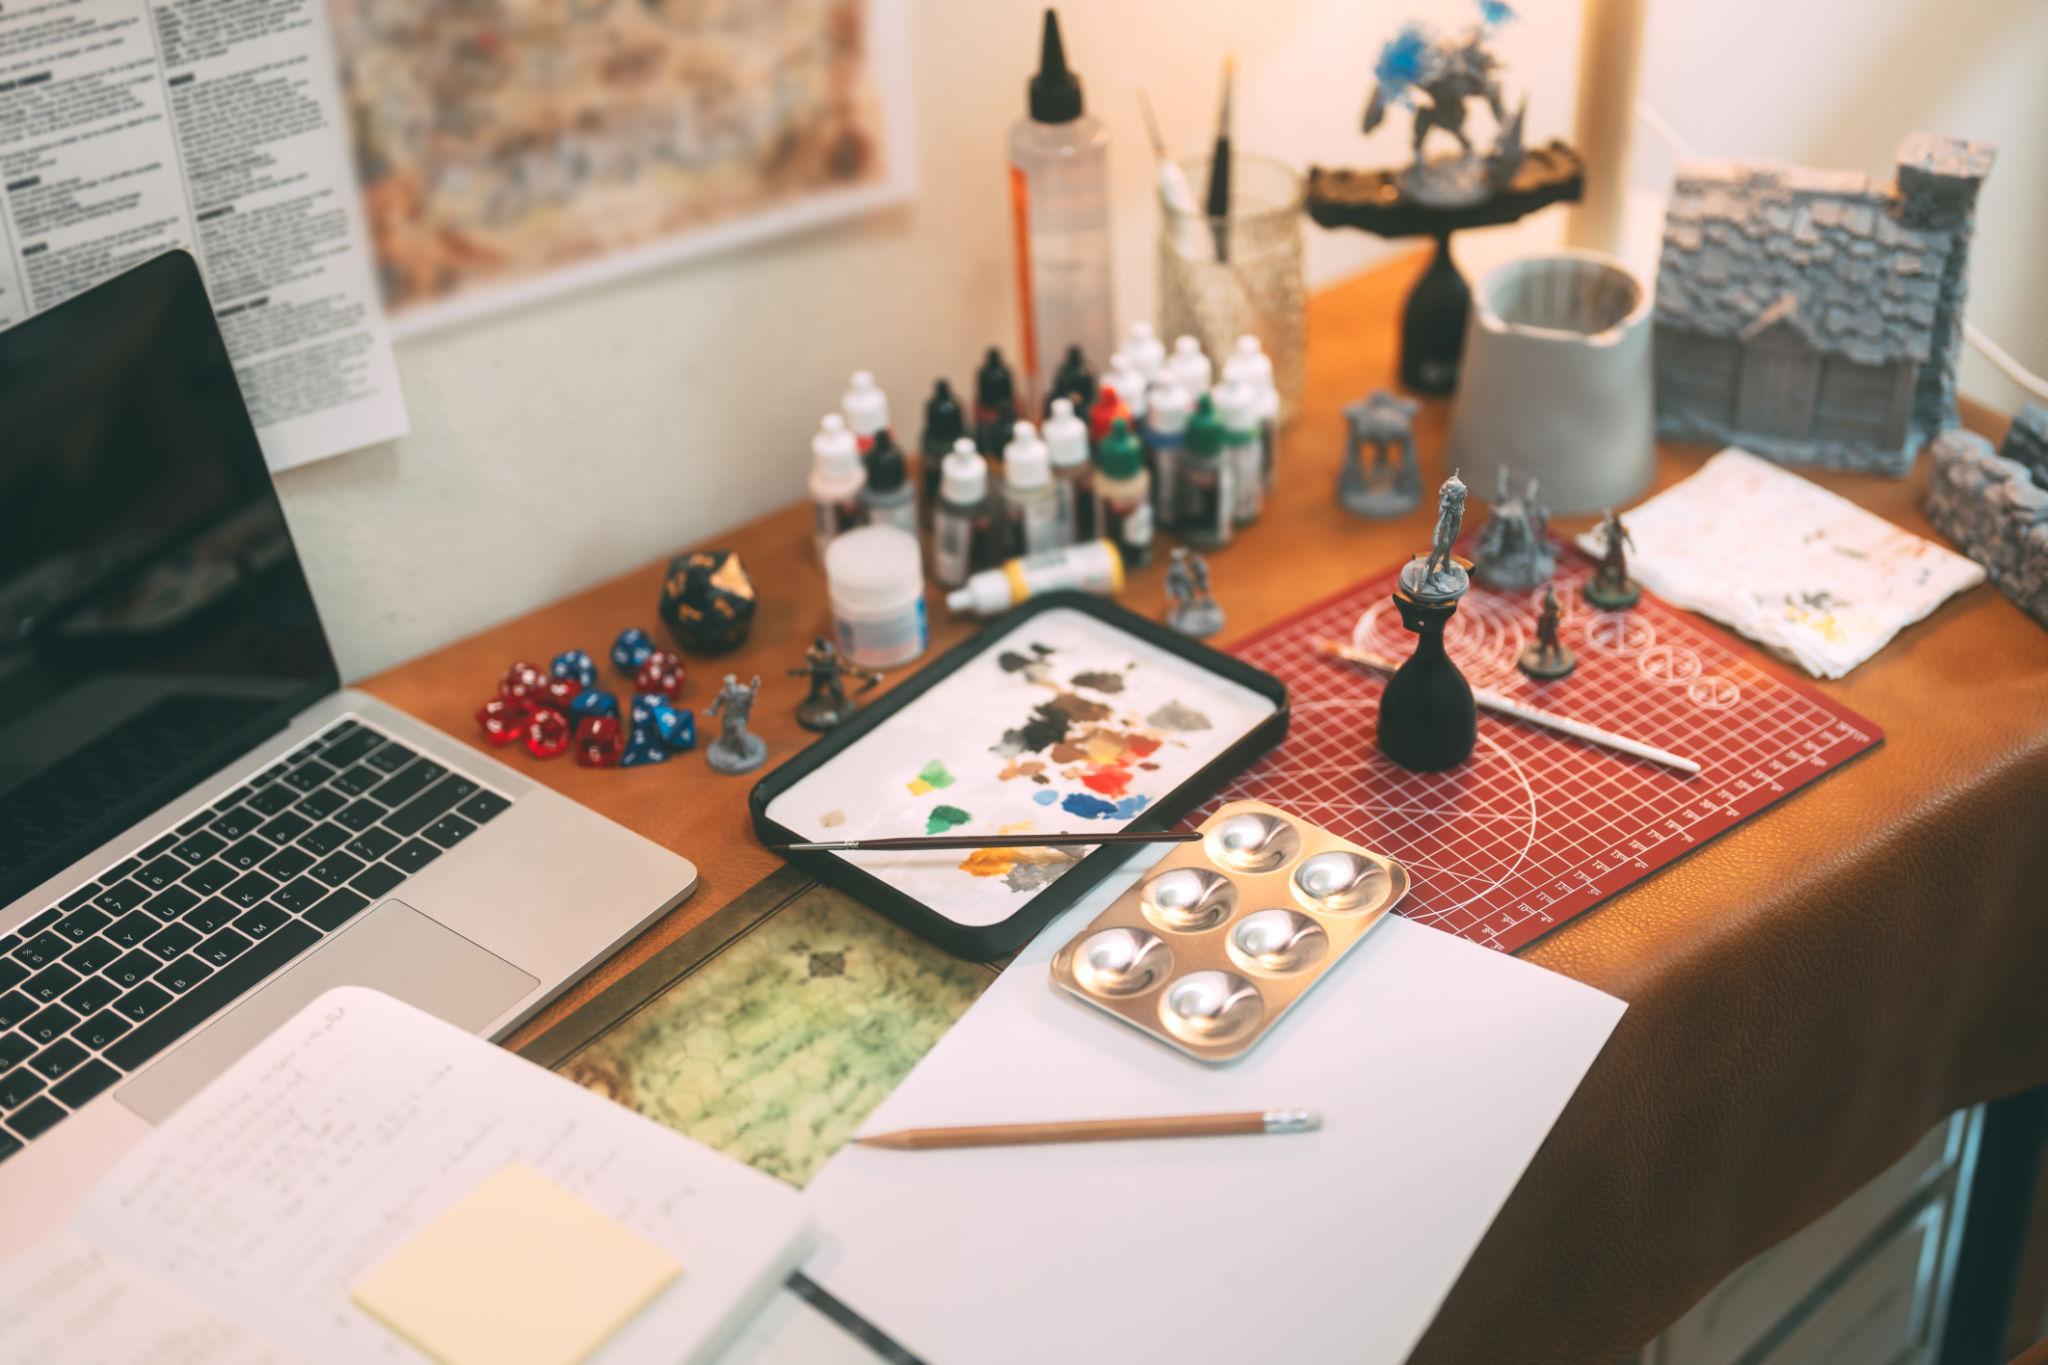
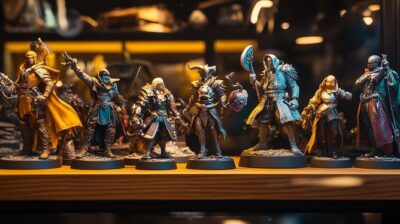
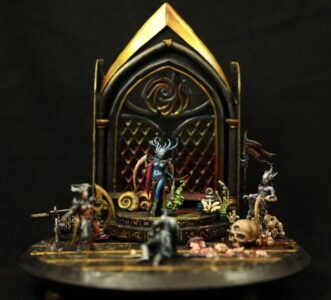
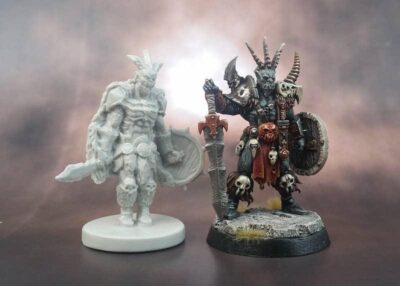
Painting can transform a good 3D print into a professional collectible.
Even simple paint techniques dramatically improve the appearance of miniatures and figures.
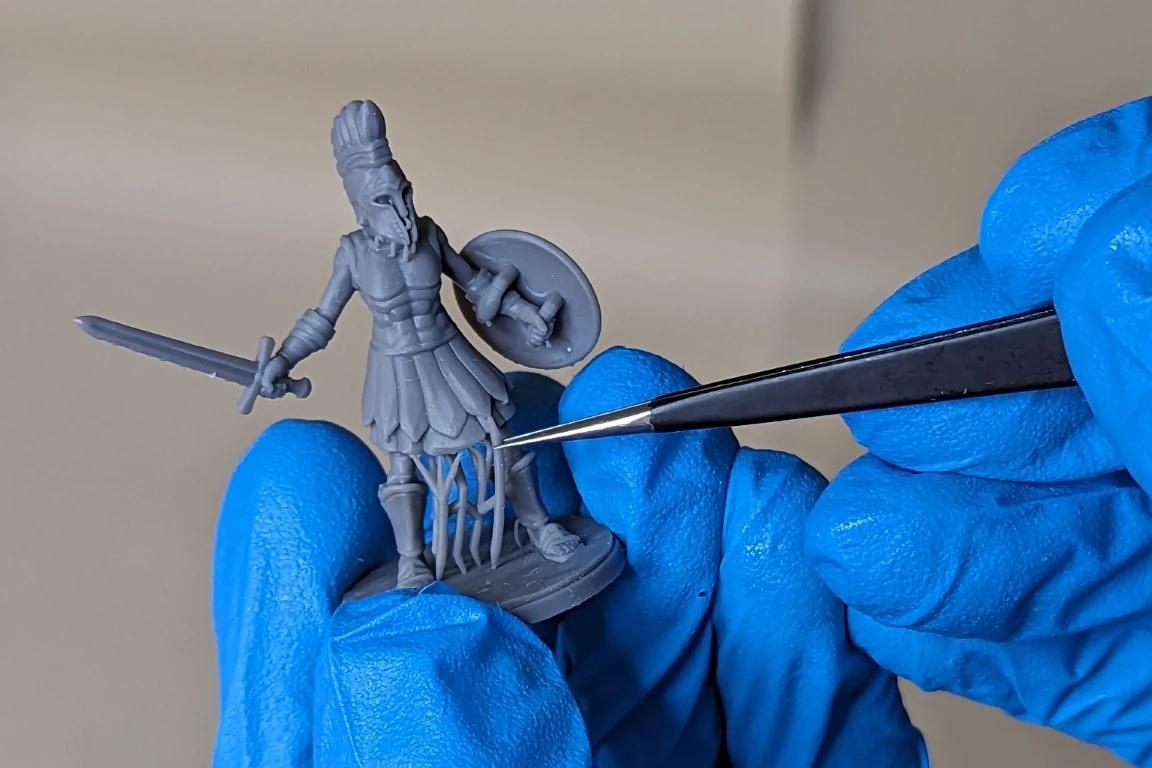
Step 1: Clean the Print
Before painting:
- Remove supports carefully
- Wash resin prints thoroughly
- Sand rough areas
- Fill gaps if necessary
Clean preparation creates smoother final results.
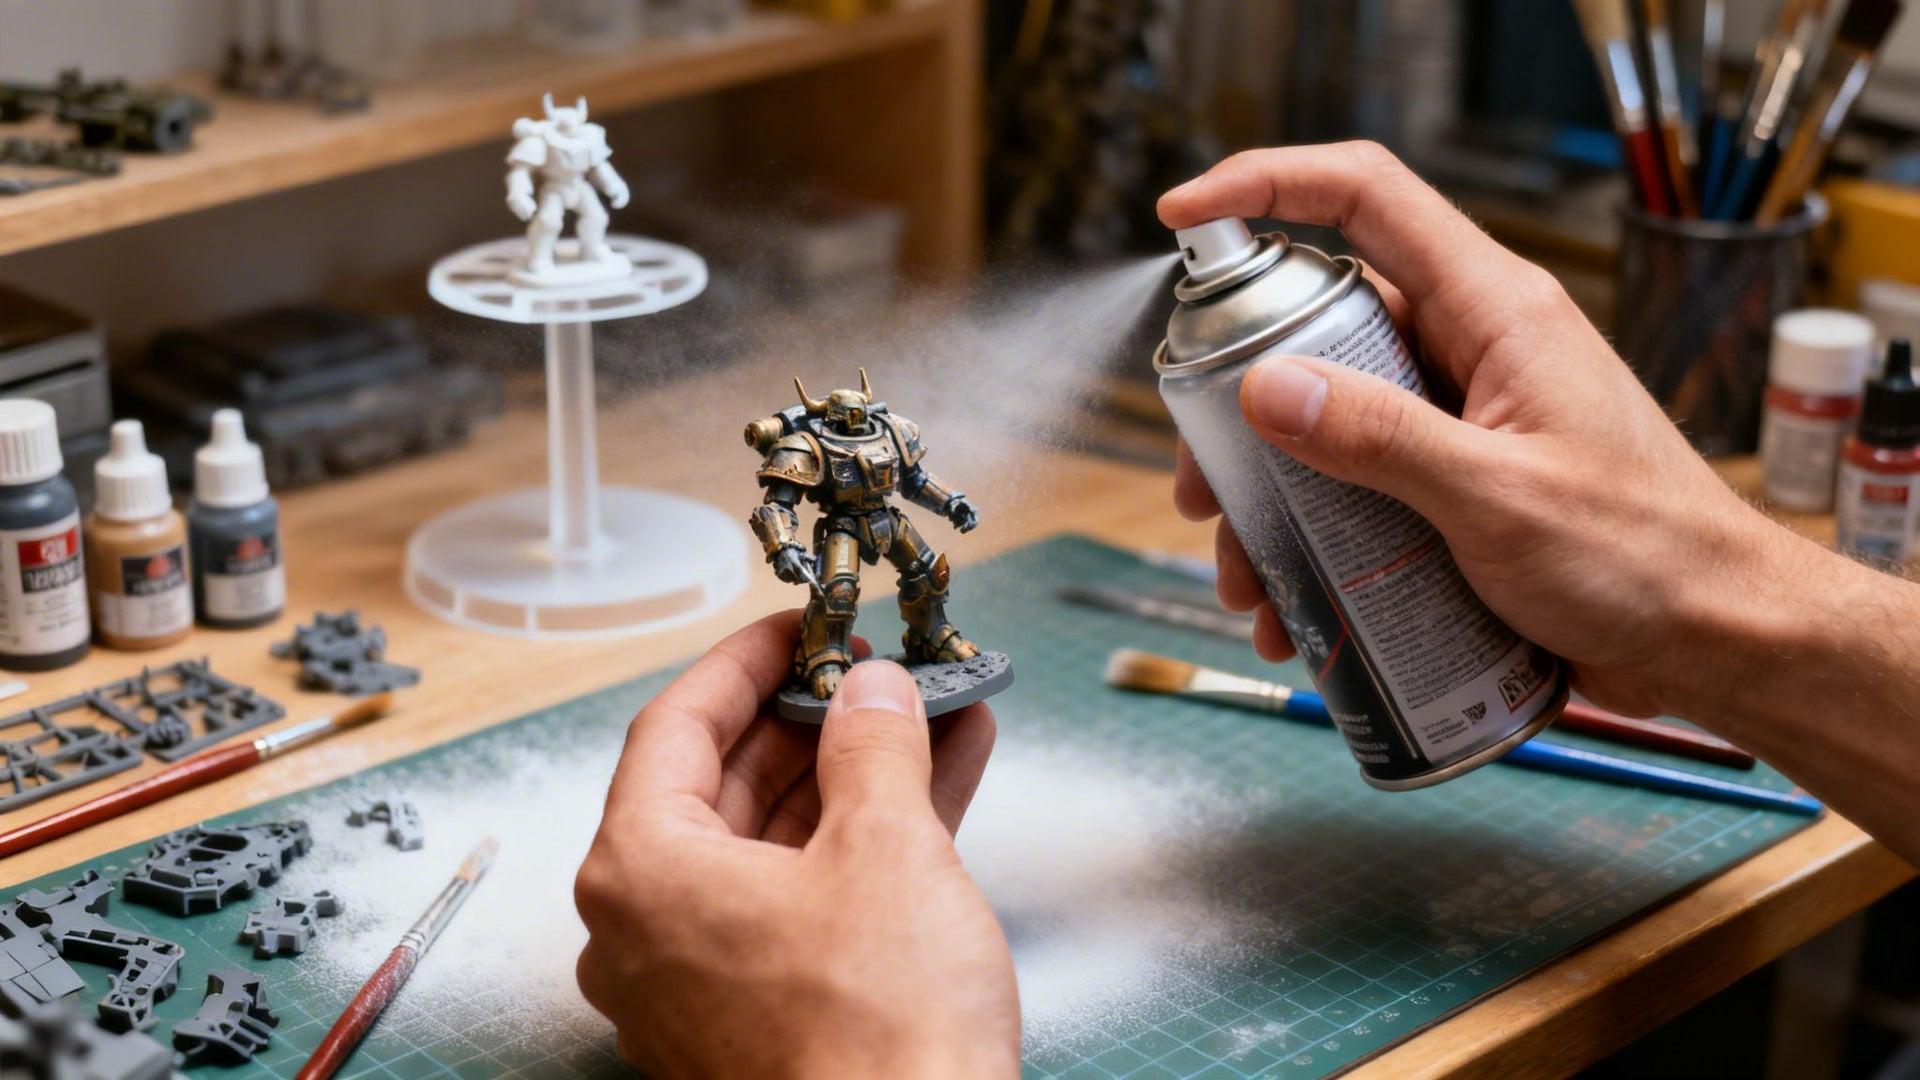
Step 2: Prime the Model
Primer helps paint stick properly.
Popular primer colors:
- Black for darker styles
- White for bright colors
- Grey for balanced results
Apply thin coats evenly.
Step 3: Base Colors
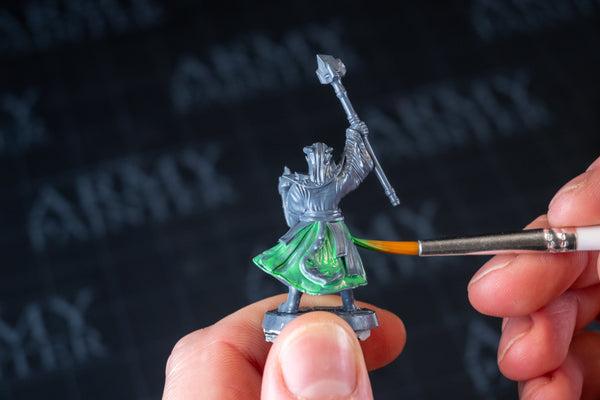
Start with the main colors first.
Use:
- Thin layers
- Multiple coats
- Controlled brush strokes
Avoid thick paint that hides detail.
Step 4: Add Shadows and Highlights
This step creates depth.
Washes
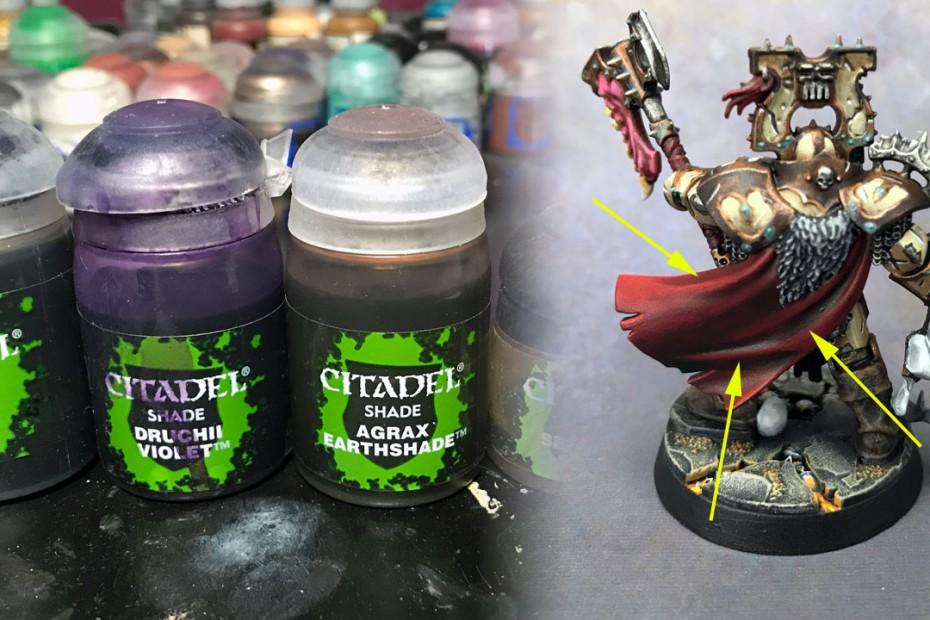
Dark paint flows into recesses to create shadows.
Dry Brushing
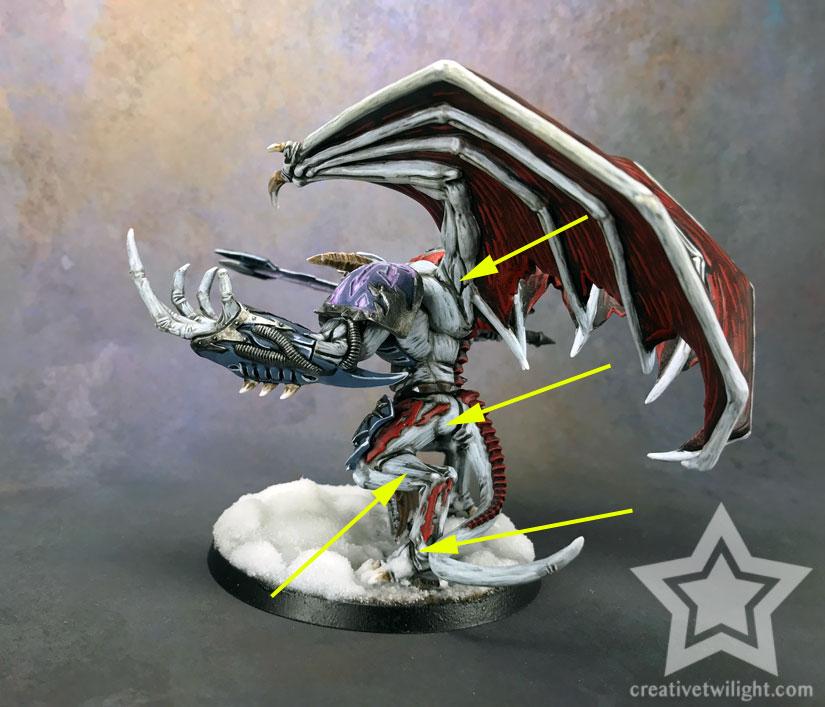
Light paint lightly brushed over raised surfaces creates highlights.
These two techniques alone can dramatically improve a figure.
Step 5: Detail Work
Add:
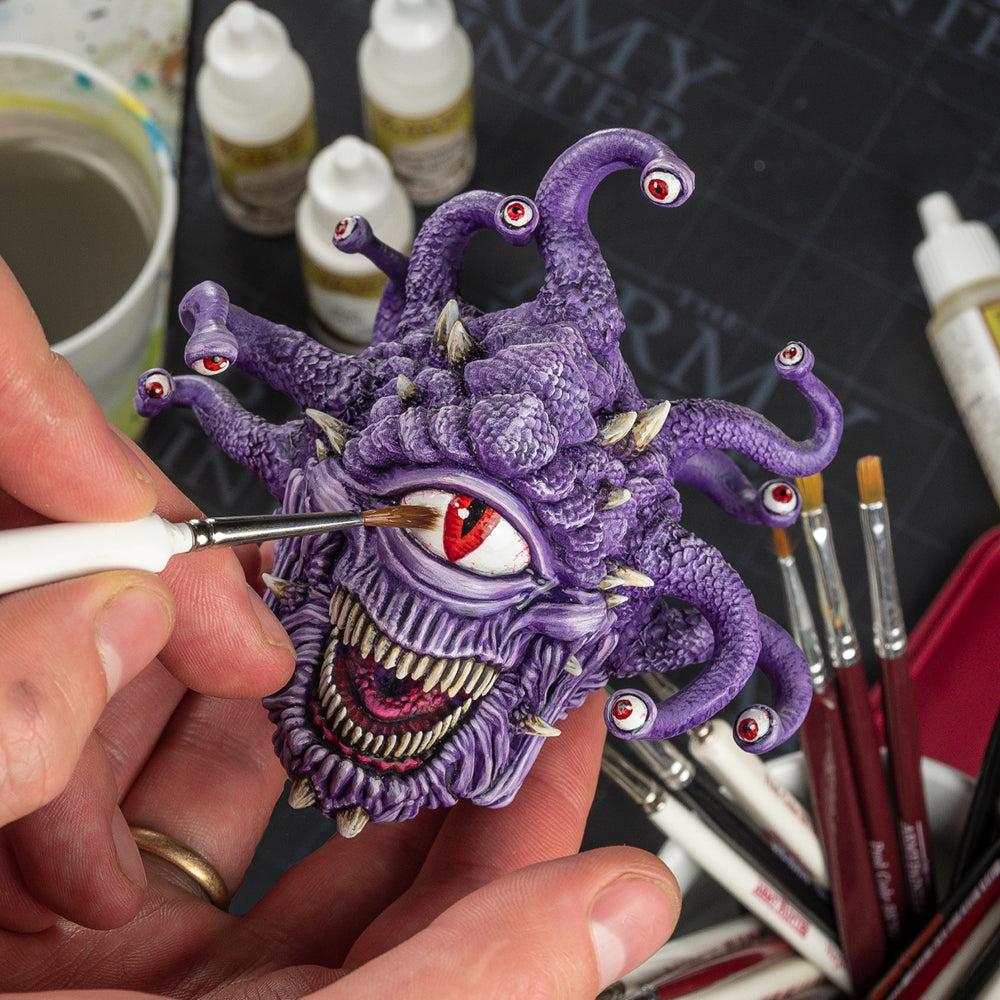
- Eyes
- Symbols
- Battle damage
- Glow effects
- Weathering
Small details make figures feel alive.
Step 6: Seal the Model
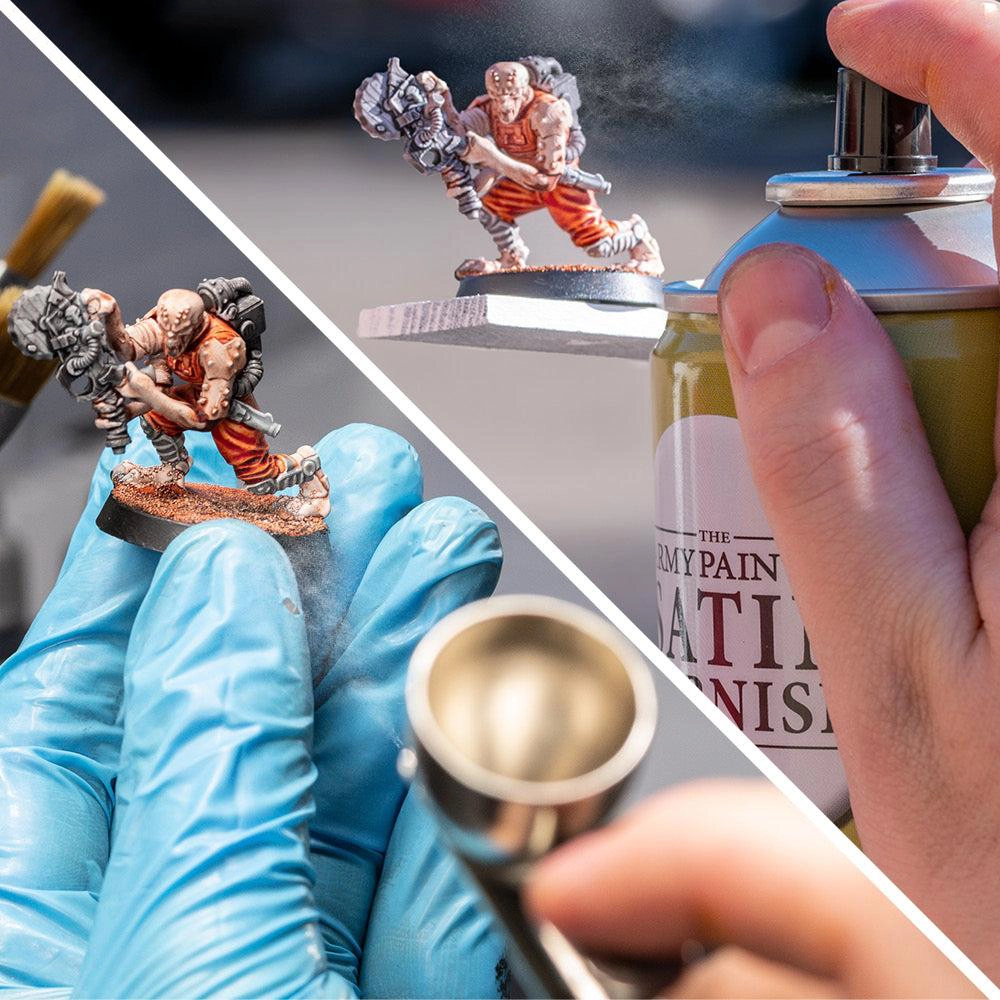
Use a matte or satin varnish to protect the paint.
This:
- Prevents scratches
- Reduces wear
- Improves durability
Common Beginner Mistakes
- Painting without primer
- Using thick paint
- Rushing the process
- Ignoring lighting
- Overusing washes
Final Thoughts
Painting is both technical and artistic.
The more you practice:
- Color control
- Brush precision
- Layering
- Lighting
…the better your collectibles will look.
Even beginners can achieve impressive results with patience and consistency.